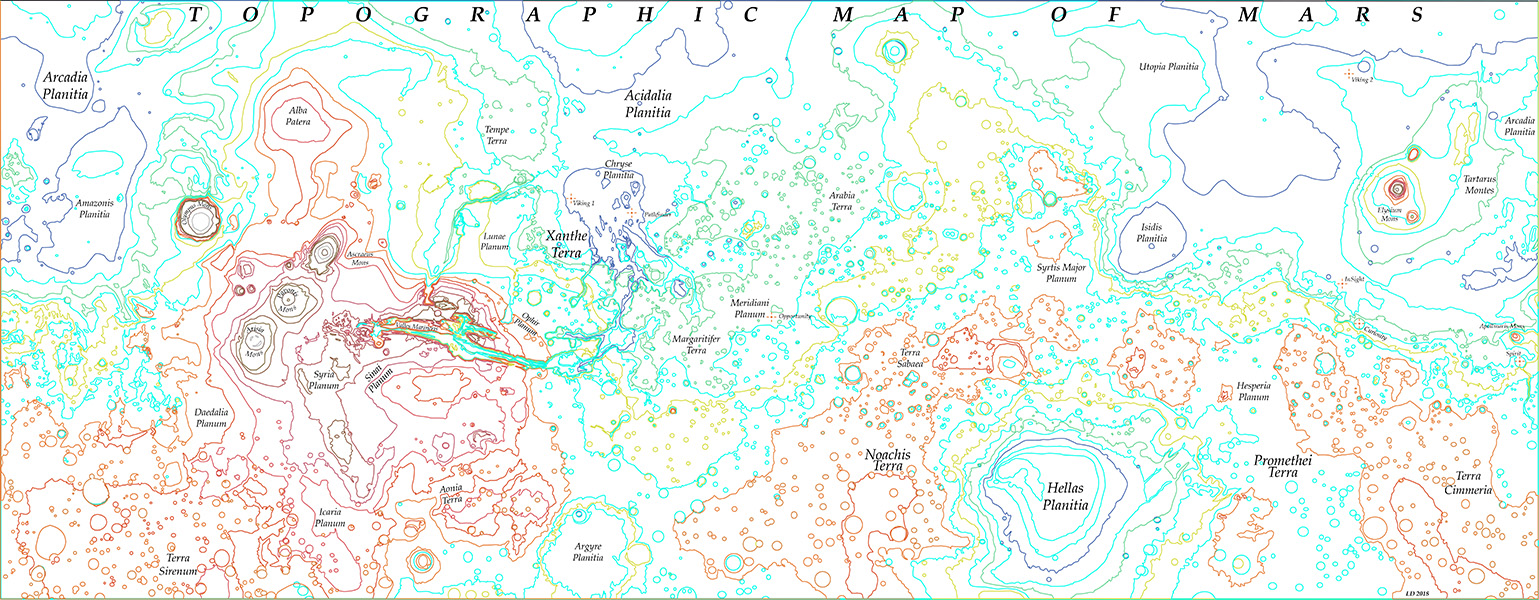

Let me tell you, friends, this project was a big one, and I made it bigger by making more dumb mistakes. First, I found a topographical map of Mars that was made in 1993. It was only after tracing the entire thing that I learned the first of two important facts: we didn’t know much at all about Mars until 1997 when the Mars Global Surveyor arrived; every map made before that point was based on data gathered in the Mariner missions in the 1960s.
The newer maps of Mars measured elevation in a color gradient rather than in convenient lines at each kilometer mark. Rather than start from scratch, I layered this map over the one I had made and started nudging my lines around. Eventually I got it looking pretty accurate, except there was one weird thing about the two maps. The elevations didn’t line up.
Here I learned the second important fact about Mars: since Mars doesn’t have a sea, scientists had to choose an elevation to use as “sea level,” which is where you would define 0 on a topographical map. Up until 2001, they measured sea level by atmospheric pressure.
But then in 2001 the Mars Orbiter Laser Altimeter arrived and gave them more specific data, and they decided instead to base sea level on the equipotential surface. So in other words, not only was the map I made only vaguely accurate in terms of landmarks, it also started counting up from 0 at a different height.
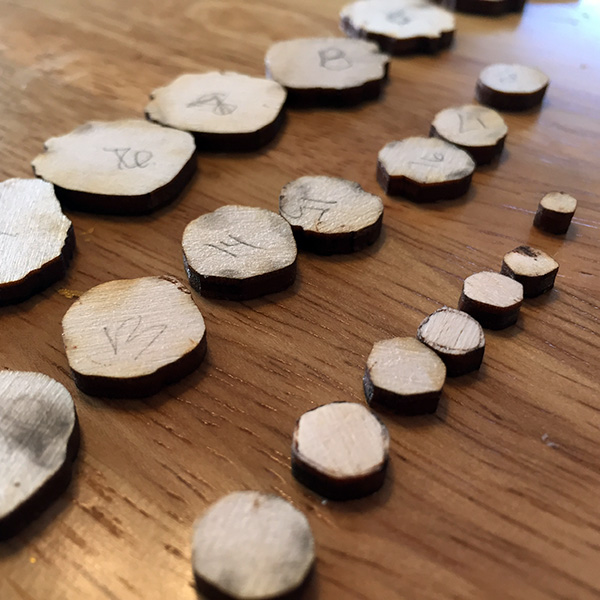
I don’t know how many hours I put into just making the file. Dozens, anyway. Then I had to split the whole map into three sections so it would fit in the laser cutter. I used twelve sheets of 12″ square birch plywood. You can buy this in bulk from Michael’s, so the whole thing ended up costing me only about $22.
I paid attention to the grain of the wood this time and I masked everything first so I wouldn’t get smoke stains on everything. I even lightly scored lines on each layer to show where the next layer was supposed to go, so I could align things exactly and so I wouldn’t end up with a bunch of random bits and no idea where they were supposed to go. I still ended up with a bunch of random bits, but fewer than I would have.
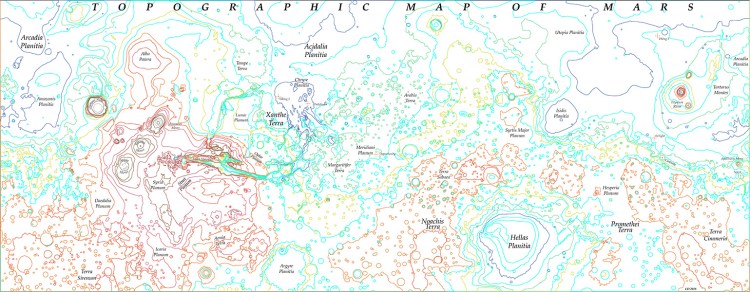
It was in assembling the thing that I learned a final important fact, not about Mars but about topography in general: when you’re making a topographic map on birch plywood that is 1/8″ thick, and each level of elevation on the map is 1 kilometer of height, that means 1/8″ up and down = 1 kilometer. But if the map is 27″ wide and the planet has a circumference of 21,343 km, then 1/8″ left and right = 98.8 kilometers. Because of this discrepancy, everything gets stretched out to look much taller than it is.
If I were making the map completely accurate, then each layer of this 27″ wide map should have been .001″ tall (or about the width of a human hair). The entire 25 kilometer height of Olympus Mons would end up being 1/32″ tall (or about the thickness of the lead in a mechanical pencil). But that makes for a very boring topographical map, so I didn’t do it that way.
The end result is that Olympus Mons ended up looking VERY TALL.
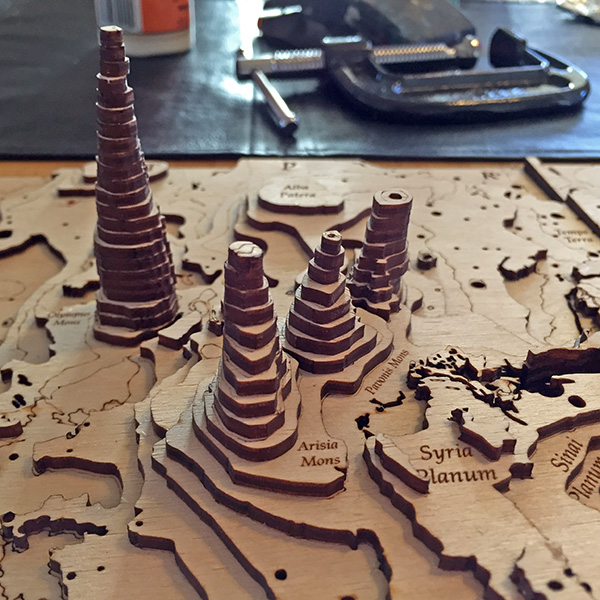
I took out every other layer of all of the mountains to get them down to a more reasonable looking height, since I didn’t want any of them sticking up three inches over the rest of the map. I think the end result looks quite nice.
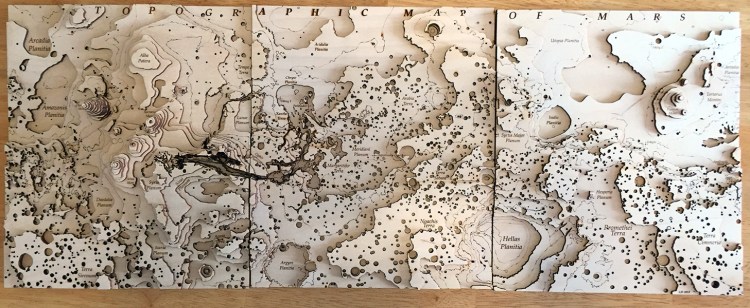
All I have left to do is mount the three parts on a single sheet of plywood and then maybe frame it or something. Maybe I’ll hang it on my wall, if it’s not too heavy. I’m already thinking of what to make next. What’s bigger than a planet?

