So you want to renovate your bathroom! I myself just finished doing so, and I decided to impart my newly acquired wisdom on the world in the form of a handy blog post for easy reference. Here goes!
1. Decide that you want to renovate your bathroom

This is the easy part! Take a look at that hideous thing. The ugly wood paneling that’s not even real wood, but a sort of papery wood-colored veneer over plywood, stapled to the wall studs. The 70s style yellow linoleum floor, peeling up at the edges. The weird platform that your toilet is sitting on, because whoever did this bathroom didn’t feel like sinking the pipes into the cement floor, so just perched the toilet on top of them. Okay, you’re not going to be doing anything with those pipes either, so that platform is staying, but the rest of it should be pretty easy to fix, right?
2. While vacuuming the room next door, bump the vacuum head into the molding and notice how it crumbles like stale bread

This part may seem unrelated, but it’s actually closely linked. That crumbling molding? Termites! Call in a carpenter to rip out the entire wall, exposing the termite-eaten studs that are squishy to the touch. Have him spend a week replacing the studs and hanging drywall. Since this room is paneled in the same gross wood stuff, you might as well repaint the entire room when he’s done, instead of just the one wall. Buy yourself a couple buckets of paint for the room and spend some time redoing it. Is there some paint left over? Great! Now you’re all set to start your bathroom remodeling.
3. (Optional) Spill an entire iced coffee in the office while painting it
This part is up to you, but I recommend it for the added experience of giving your blood pressure a workout. If you’re not an iced coffee drinker, make sure that whatever beverage you substitute is equally cold, refreshing and delicious.
4. Finally get around to priming the bathroom walls
Since it’s wood paneling, you should probably use Kilz first to prime it. That’s an oil based primer and the idea is that it stops oily yellow wood sap from leaking through the finished paint job. That probably won’t happen with this fake wood paneling stuff, but eh, might as well. If you wear contacts, this step will be a breeze. If you don’t, prepare to flee from the room, eyes streaming in chemical-induced agony. If you have lungs, try not to use them.
5. Paint!
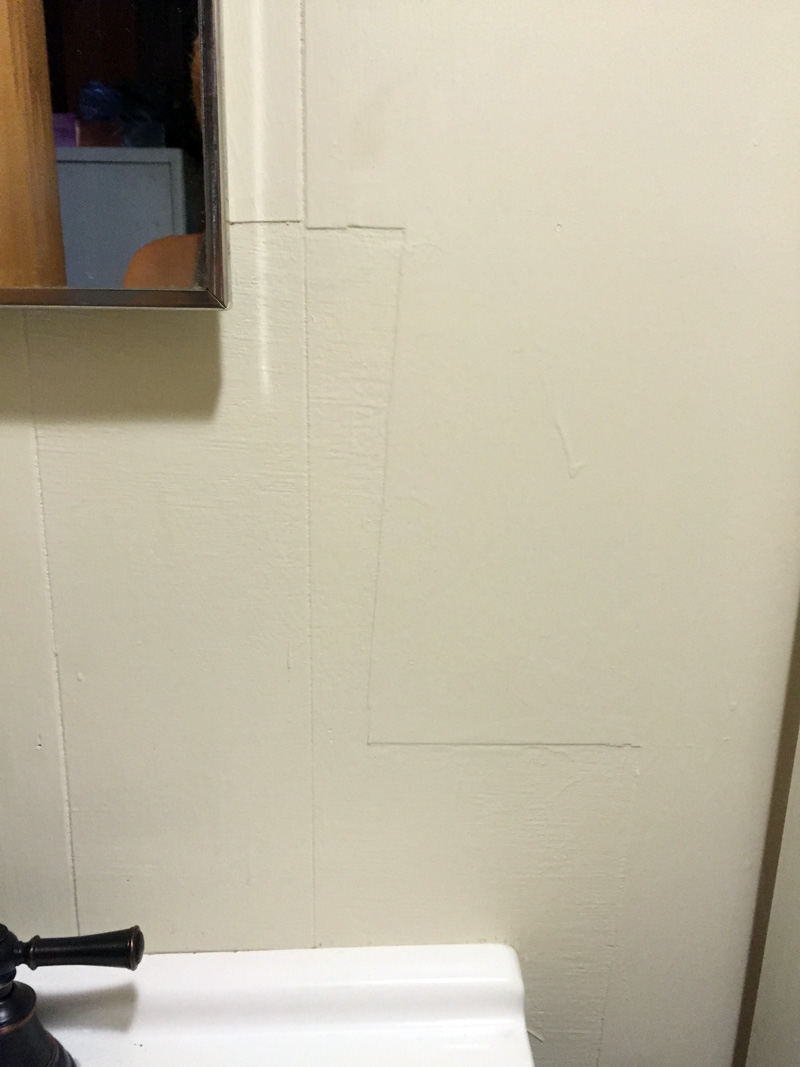
This part is pretty easy because the bathroom is so small. Don’t worry about getting paint on the floor, since you’ll be replacing that. You probably should have patched up the nail holes and stuff in the wall before starting but it’s too late now. Oh hey, looks like some of that wood veneer stuff is peeling straight off where it got damp from long term sink use. Just rip that right off and paint over the plywood. No one will notice the texture different, right?
6. Now it’s time for the linoleum

For the lower floor, you can probably just put the tiles right on top of the stuff that’s there. For the upper floor, the edges of the linoleum are peeling up so you might as well rip it up. Why is it pulling up crumbly plaster? Where did all this rotted wood come from? Has the toilet been leaking under the wood all this time? Can you just…cover this up and cross your fingers?
7. Turns out you can’t just cover it up and cross your fingers

Call back your carpenter and have him rip out that entire platform. First he’s going to have to remove the toilet, which necessitates vacuuming out the water in the bowl with your wet/dry shop vac. Oh right, remember how the shop vac vents air straight out the top? Yeah, it’s going to do that with the water, too, so your freshly painted ceiling and walls are now coated in a muddy splatter. Thank god you cleaned the toilet before you let him do that.
8. Fix up all those new gouges in the wall
The carpenter isn’t so great with delicate work, and he’s left a few gouges in the new paint job, as well as all that mud splatter. Wipe up the mud and paint over all the new holes. They’re not really noticeable once you sand down all the splintered veneer.
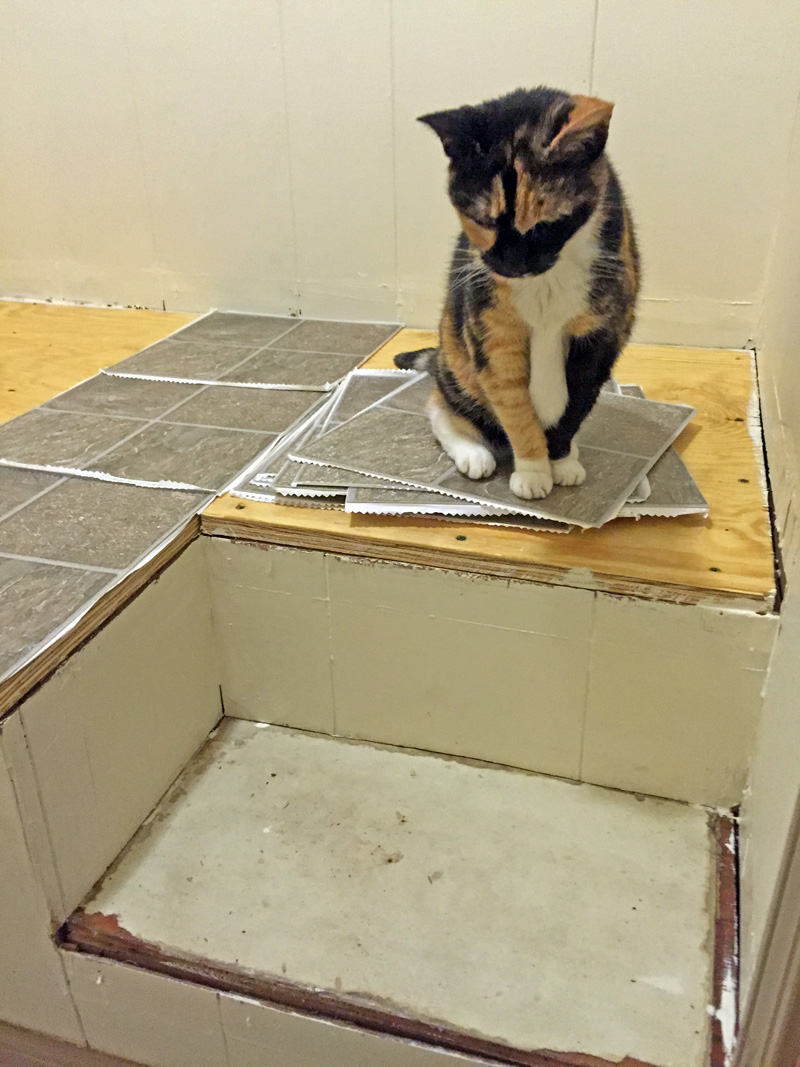
9. Prime the new platform and tile it

You bought peel-and-stick linoleum tiles, so this part is pretty easy. Of course, there’s not a straight, level line in the entire bathroom, so cutting the tiles is pretty fun, but at least it cuts easily with an x-acto knife. Buy some vinyl staircase nosing to cover the edge of the platform and step and keep the linoleum from peeling back up. You’ll need to go to two different hardware stores to find the right stuff, and most of the people you talk to there will stare at you blankly when you ask for it, but you’ll get there eventually.
10. Buy new baseboard molding
Since the carpenter had to rip out the old platform, he had to rip out all the molding up there too. He said he was going to do it gently so you could nail it back on, but lol no. It’s all splintered and shattered. That’s okay! You can just buy some new stuff and have the guy at Lowe’s cut it to the right length.
11. Miter the molding

You know that thing where you have to cut the molding on a diagonal so it meets up flush with the rest of the molding in the corner? That’s called mitering, and the guy at Lowe’s says his machine doesn’t do it. Do you have a table saw? No? Well I hope you have a miter box or something. Is the molding too big for the miter box? Okay, try doing it by hand. NO DON’T DO THIS BY HAND. IT WILL NEVER LINE UP. IT DOESN’T MATTER HOW LATE YOU STAY UP, SANDING AND RE-CUTTING. Oh and make sure you cut the diagonal going the right way, because boy will your face be red when you realize you didn’t, and now you have to cut it again, and now the molding is too short. No one will notice that two-inch gap, right? Give up around midnight, leaving the good-enough molding on the bathroom floor. Don’t nail it in yet, just in case you have energy in the morning to try again.
12. Nail in the molding
So when you bought the molding, it came in white, which doesn’t really match the paint job of the rest of the bathroom but you ran out of trim paint and you’re really lazy. Even though you carefully padded the vice before clamping it in to miter it, the molding is now scuffed, but that’s okay. When you go to nail in the first bit of molding, try choosing a nail that’s too long, so despite a lot of hammering, a good inch of the nail sticks out. Then try pulling the nail back out with the claw of the hammer, without causing extra damage to the molding. You won’t manage that, by the way. Now the molding looks really crappy. Okay, I guess you’re going to paint this molding.
13. Paint the molding
Bring the molding to the garage to paint it. But wait, why is the molding wet when you pick it up from the bathroom floor? Where is all this water coming from? Oh hey, the water supply valve has been leaking. Leave a bucket under it overnight and come back to more than a cup of water. That’s a lot of water. Google “water supply valve replacement” and watch some YouTube videos. Not too difficult, right? Before you go to the hardware store to buy the supplies, check to see which part of the valve is leaking. None of it? Wait, where the hell is this water coming from? How is it just squeezing straight through the metal like that?
14. Call in that carpenter again
Well, first you call the carpenter to cancel, since he was supposed to come back in and install your vanity, but he tells you he can do some plumbing, so bring him back in. He’ll look at it and then tell you he has to run to Home Depot to get a shark bite tube thingie to replace it. He replaces the water supply valve too so no more leak. Yay!
15. Put the toilet back in
The carpenter can do this for you. You already bought one of those wax ring things for him, but it turns out the bolts are too short so he just has to run back to Home Depot to get new ones. It’s because he’s not really a plumber, he says. He’d have thought of that earlier if he did this sort of thing more often.
16. Install the vanity

You bought a vanity a few days ago. It’s nice and fancy and has a spiffy new faucet too. The carpenter will have to take out the old sink. When he does that, he’ll discover that the sink has been leaking too. You kind of knew that already but you’d decided to pretend it wasn’t an issue. Turns out it’s an issue. He has to call in his friend to help. His friend arrives on a bicycle. He doesn’t actually tell you his friend is coming, so it’s a bit weird to hear another man enter your house and start talking.
17. Replace the old plumbing
The carpenter just has to run to Home Depot to grab some more supplies. The old plumbing doesn’t really fit the new vanity, and when he fills the sink with water and then drains it, the water pours out onto the floor instead of down the pipe as it theoretically should.
18. Cut a hole in the wall to fit in the new plumbing
It’s sort of a big hole? But once the sink is in place it’ll be fine. Oh he’s also going to have to cut the molding off the wall because the vanity has to sit flush to the wall. No big deal. Once he runs to Home Depot, he’ll be able to get everything in there nice and snug.
19. The carpenter is done! Time for the decorative touches
Decorative touches in this case refers to the towel rack, toilet paper roll holder, toothbrush holder and door stop. You’d actually taken the door stop out before the carpenter arrived because you knew he’d manage to rip it out of the wall somehow. The towel rack, toilet paper roll holder and toothbrush holder all have these wall mounts that they attach to so that the screws aren’t visible on the finished product. The first two also come with cardboard templates that you can tape to the wall so you can drill the holes in the right place. So helpful!
20. The cardboard templates are wrong
Time to drill new holes.
21. Screw in the mounts
This is really easy to do in the places where there were no studs behind the molding. Sure, if the towel rack and everything was going to hold up something heavy, this would be an issue, but since it’s not, you just attach it to the paneling. Except in that one place where you did manage to find a stud. Holy hell, it’s hard to get the screw in there. You’d drilled out a 1/16″ hole for the screw, but there is NO PHYSICAL WAY to get the screw in that hole. Your electric drill is not strong enough. All you’re doing is stripping the screw. Try doing it by hand. Nope. Drill the hole a little deeper. Nope. Get a 3/16″ drill bit, which is actually wider than the screw, and drill the hole again. The screw goes in pretty easy now, doesn’t it?
22. Done!

Enjoy your new bathroom. Now wasn’t that worth it?

Hey, it looks amazing! Two thumbs up for that vanity, and two more for the toilet-dais.
LikeLike
Thanks! I guess this means it’s time to start on the next project…
LikeLike
Yep. Yep indeed. *Sits back in anticipation.*
LikeLike
Oh hey speaking of, I just finished a manuscript. Mind taking a look? It’s no problem if you’re too busy.
LikeLike
Send it my way, and I’ll be all over it! I’ve really missed reading your work.
LikeLike